Let's talk trimming! This step is done after the clay forms I threw have hardened to the "leather hard" stage - where the clay is firm enough to handle without damaging the form, but soft enough to carve. Part of this is dependent on weather and humidity - if it's very dry the pieces will dry quickly, and if it's humid the pieces will dry more slowly. This is something that is challenging but also exciting about the ceramic production process...surroundings and weather really determine timing.
When the clay looks and feels firm enough, I pop it off of the wooden bat that it dried on. Placing the form opening-side down, I'll center it, and then secure with bits of wet clay from the bag so it stays put while I trim.

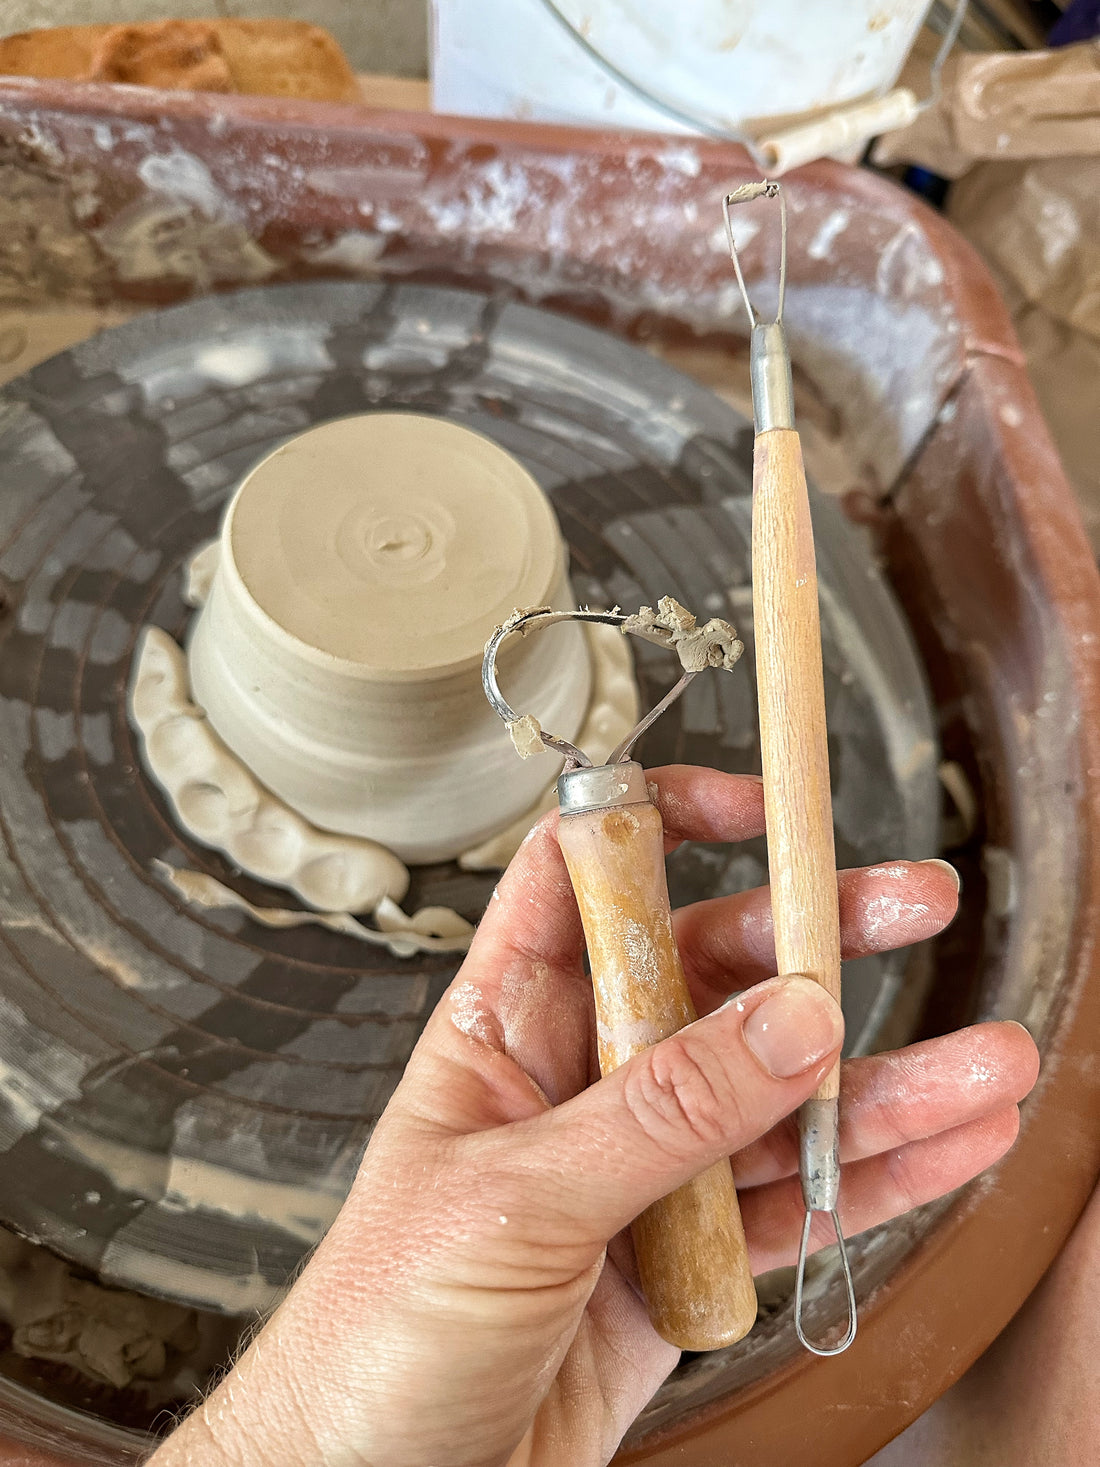
This one needs some clean up! Once the piece is secured, I use a sponge to wet the area I'll be trimming (usually the top and sides) to get that clay soft. If the clay is too hard it'll pull and be tough to keep on the wheel. Water helps with this to rehydrate the clay for smooth trimming. After the clay has softened a bit under the sponge, I'll break out my trimming tools! I usually use these two, the larger one is great for more clay removal and the smaller one is perfect for refining and smoothing.

Looks better already! I'll usually slide the bigger trimming tool across the top of the piece to get rid of any unnecessary clay, and to make the piece lighter. I'll then slide the tool down the sides enough times to get the shape I want. Then it's on to the smaller refining tool - where I'll move it in the same way to smooth and perfect the shape. After the clay is removed and the piece is shaped to my liking, I'll smooth with a wet sponge one more time - for the last refining touch.

Looking good! Now it's time to remove the piece from the wheel and place to dry. Here is the aftermath from a day of trimming, where you can see most of the clay trimmings on the upper left side of the wheel:

The piece will be placed on newspaper to dry...

And after about 30 minutes it can be carved with my artist signature using a larger needle tool. I always sign with love from "Cheer," which is my trail name. Once the piece has been signed, I'll place it to dry for 3-6 days before bisque firing it in the kiln with other pieces. After bisque firing, the signature will be sanded to get rid of any pieces of clay that protrude after signing.

If you’d like to see me in action (this blog post - in video form): Check out my corresponding YouTube video! The next step in the ceramic process is bisque firing and glazing. Stay tuned!